Build a Job list with Svelte

CONTENTS
- Introduction
- Installation and setup
- Folder Structure
- Getting the JSON data
- Build a card
- Create a List of cards
- Add more features eg Login, filtering jobs by various categories
Introduction
Svelte is a tool for building a user interface for web applications. unlike other frameworks or libraries like React, Vue, or Angular, svelte compiles, and only the JavaScript is rendered in the browser. This makes svelte applications comparatively smaller. In this article, we will be building a Job List using svelte. The application of choice was inspired by one of the challenges in the Frontend Mentor.
You can view the application to be built here: https://job-list-data.netlify.app/
the code is available on Github: https://github.com/jakazzy/job-list/
Installation and Setup
To begin building with Svelte ensure you have Node and a package manager installed. In my case, I will go with the Node Package Manager.
Verify their installation with the commands below.

If both are not present, install node from here and npm as well.
To set up svelte run the command below

Open the project, job-list with the editor.
Project Folder Structure
|-Public/
|-Scripts/
|-src/
—App.svelte
—main.js
|.gitignore
|package.json
|README.md
|rollup.config.js
our focus will be in the src folder where all app files will be.
The src folder contains the App.svelte files where the svelte project is and the main.js files.

In the main.js file, App.svelte is imported into the file as App and an instance of App is created. App the takes as argument an object with property target and props. The target in our example is document.body. This means App targets the body element in the index.html file located in the public folder and it is injected there.
Props, with the property name and value “world” is svelte’s method of passing props. This data becomes available and it is used in the App.svelte file.

The name prop set in the main.js file becomes available in the App.svelte file. Which is passes into the h1 tag as a prop.
Install all dependencies with the command below

Open the terminal and run the command

Open the application in the browser and view the b-e-a-u-t-i-f-u-l “Hello world”

Getting the Joblist data
In the src folder, create a file called data.js and add the data to be displayed in the file. You can alternatively view the data on Github from here: https://github.com/jakazzy/job-list/blob/develop/src/static-job-listings-master/data.js

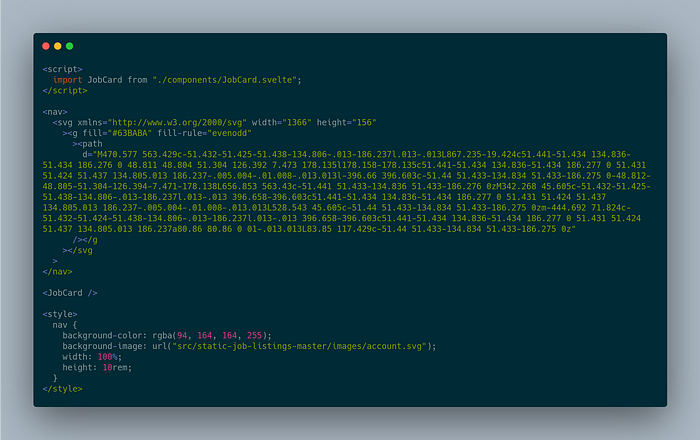
Building a Navbar and a Card
The App.svelte file contains the styling, JavaScript and the svelte template whose syntax is very similar to HTML.
In the App.svelte file, Add the following code.
Create the JobCard
In the src folder, create the component folder, and in the folder create the JobCard.svelte and add the following code.

Run the app again in the browser.
This will display a card in the browser and display the navbar.
To display the list of cards, the the component folder, create a file called JobCardList.svelte and add the following code

Now edit the App.svelte file to include the JobCardList.svelte instead of the JobCard.svelte file

Having updated the App.svelte file, we should have the Job list being beautifully rendered in the browser

We can now add more features to the Job-list app such as filtering jobs using programming language, frontend, etc